
Affiliate Disclosure: Some of the links in this post are affiliate links. This means we may earn a small commission if you make a purchase through these links—at no extra cost to you. We only recommend products and tools that we genuinely believe will help you with your sewing projects.
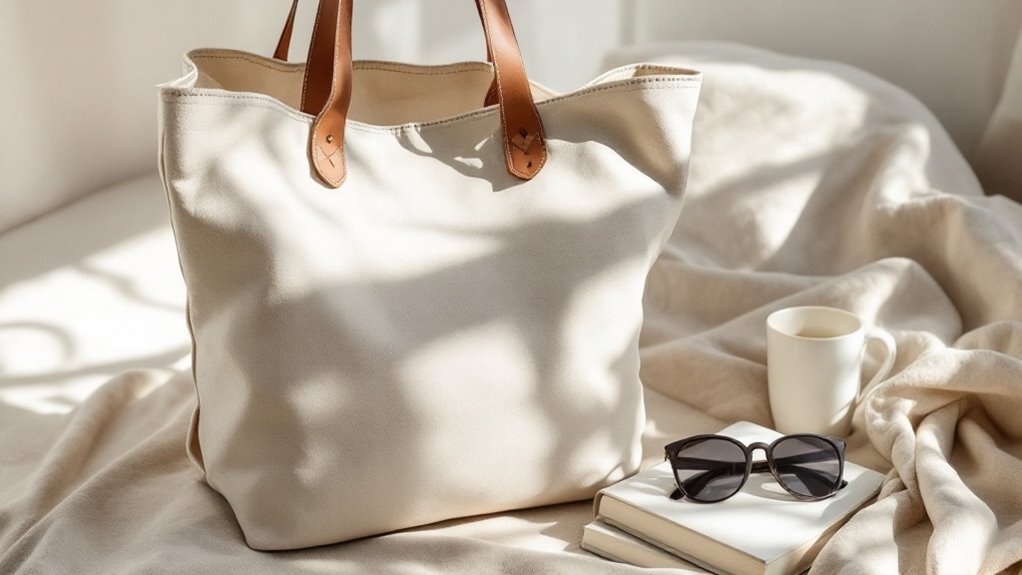
You’ll create a sturdy canvas tote this weekend using 12–14 ounce canvas, basic sewing skills, and essential tools. Start by cutting two 16″ × 18″ panels for the body, add side gussets and a reinforced bottom, then attach heavy-duty handles with box-stitch patterns. Layer your base for durability, add pockets and lining for functionality, then personalize with embroidery or patches. Finish with waterproofing spray and seam tape for protection. Keep reading to discover the step-by-step techniques that’ll transform your weekend project into a professional-quality bag.
Key Takeaways
- Use 12–14 ounce sturdy canvas for durability; choose pre-treated water-resistant finishes for added protection.
- Cut front/back panels at 16″ × 18″, side gussets at 4″ × 18″, and bottom at 16″ × 4″.
- Reinforce handles with heavy-duty thread, box-stitch patterns, metal rivets, and leather wrapping at stress points.
- Double-layer the base with additional canvas and heavy-duty interfacing to withstand constant wear and friction.
- Add topstitching ¼-inch from seams, personalize with embroidery or patches, and seal with waterproofing spray.
Gather Your Materials for Your Canvas Tote
Before you start stitching, you’ll need to collect everything required for your project. Gather two pieces of sturdy canvas fabric, each measuring approximately 15 by 16 inches for your tote’s body. You’ll also need two smaller pieces for the handles, roughly 4 by 24 inches each.
Stock up on coordinating thread, a needle suitable for canvas, and quality fabric scissors for precise cutting. A bench ruler guarantees your measurements stay accurate throughout the process. Don’t forget about pins to hold fabric pieces together before sewing.
Consider adding interfacing for extra reinforcement at stress points like handle connections. Have a measuring tape handy for double-checking dimensions, and keep a pattern template nearby for consistency. With these materials organized and ready, you’re prepared to create your durable weekend tote.
Cut and Prepare Your Canvas Pieces
Now you’ll select a sturdy canvas that’ll withstand regular use, then carefully measure and mark your cutting lines with precision to guarantee symmetrical pieces.
You’ll use a rotary cutter or sharp scissors to cut your canvas pieces cleanly along the marked lines, avoiding ragged edges that could fray during assembly.
Taking time with this step sets you up for a professional-looking tote that’ll last for years.
Selecting The Right Fabric
Start by choosing a sturdy canvas that’ll withstand daily use—you’ll want a weight between 12 to 14 ounces for the perfect balance of durability and workability. This canvas weight guarantees your tote won’t tear under everyday pressure while remaining easy to sew through.
Next, consider your fabric’s finish. Natural canvas offers a classic, rustic aesthetic, while pre-treated options provide water resistance. You’ll also want to examine the weave tightness—a densely woven canvas prevents item slippage and extends longevity.
Think carefully about print placement before you cut. If you’re using printed canvas, position your design strategically on each panel so it displays prominently on the front. Measure twice, guaranteeing your chosen motif centers perfectly on the tote’s face for a professional, polished appearance.
Measuring And Marking Lines
Grab your measuring tape, ruler, and fabric pencil—precision at this stage sets the foundation for a polished final product. You’ll want to maintain consistent measuring tolerance throughout your project to guarantee all pieces align perfectly.
| Piece | Dimensions |
|---|---|
| Front/Back Panels | 16″ × 18″ |
| Side Gussets | 4″ × 18″ |
| Bottom Panel | 16″ × 4″ |
Mark your cutting lines clearly using marking templates for accuracy. Double-check every measurement before cutting—this prevents costly mistakes. Use your fabric pencil to draw straight lines along your ruler, applying gentle pressure so you don’t damage the canvas.
You’ve now created your cutting guide. With your pieces marked precisely, you’re ready to cut confidently and move forward with assembly.
Cutting Precise Canvas Pieces
With your cutting guide complete, you’re ready to bring precision to life by slicing through your canvas. Use a rotary cutter with a sharp blade—dull cutters create frayed edges and inaccurate pieces.
Position your ruler firmly against the marked lines, applying consistent downward pressure as you cut. Keep your edge alignment precise by maintaining the cutter perpendicular to your fabric surface.
Make single, confident strokes rather than multiple passes, which compromise accuracy. Cut slowly through thicker canvas layers to prevent shifting. For your tote, you’ll need two main body pieces and handles cut to exact specifications.
Precision cutting now saves you frustration during assembly. Double-check measurements before cutting, as mistakes here compound later. Remove any loose threads immediately after cutting, and stack finished pieces neatly to prevent wrinkling.
Plan Your Pockets and Lining (Optional)
You’ll want to select an interior fabric that complements your canvas while offering durability—consider cotton blends or lightweight canvas for easy maintenance.
Next, decide where you’d like your pockets and determine their dimensions based on what you’ll store, ensuring they’re accessible and proportional to your tote’s size.
Finally, you’ll explore lining installation techniques that’ll secure your fabric smoothly inside the bag, creating a professional, polished finish.
Interior Fabric Selection Options
The inside of your tote deserves just as much thoughtfulness as the exterior, and selecting the right interior fabric transforms how functional your bag’ll be.
Consider cotton blends for breathability and durability—they’re perfect for everyday use. If you want extra protection, opt for canvas-backed linen, which resists wear from sharp objects.
For added practicality, incorporate waterproof inserts to shield your contents from spills and moisture. You’ll want a fabric weight that complements your exterior canvas without creating bulk.
Don’t overlook aesthetic details: choose contrasting colors or patterns that peek through your pocket openings. Contrast piping along seams adds visual interest and polished sophistication.
Ultimately, pick interior fabric that balances durability with style, ensuring your tote functions beautifully for years.
Pocket Placement and Sizing
Strategic pocket placement transforms your tote from a simple carryall into an organized powerhouse. You’ll want to position strap pockets on the interior sides for easy access to phones and keys. Consider adding hidden zippers along the inner walls to secure valuables discreetly. Size your pockets intentionally—larger compartments work well for wallets and sunglasses, while smaller slots keep accessories contained.
Think vertically when designing your layout. You can incorporate patch pockets on the exterior for frequently grabbed items, but make certain they won’t interfere with the bag’s structural integrity. Measure twice before cutting or marking placement points. Position strap pockets roughly six inches from the top seam for comfortable reach. Stagger your hidden zippers at varying heights to maximize storage without creating bulk.
Lining Installation Techniques
Once you’ve finalized your pocket placements, it’s time to add a lining that’ll protect your interior while concealing all those clever compartments you’ve created. Start by cutting lining fabric slightly larger than your tote’s interior dimensions. Press hidden interfacing onto the wrong side for structure and durability.
Next, sew your lining pieces together, leaving a four-inch opening for turning. If you’ve incorporated a bound zipper, carefully align the lining around it before stitching. Insert the completed lining into your tote, right sides facing inward, then hand-stitch the opening closed using a ladder stitch for an invisible seam.
Press everything flat, and you’ve successfully created a polished, professional interior that’ll keep your tote looking fresh for years.
Sew Your Canvas Tote Body and Side Seams
Now you’ll bring your tote to life by stitching together the body and side seams—this is where your project transforms from flat fabric pieces into a functional three-dimensional bag.
- Pin your front and back panels with right sides together, then sew along both side seams using a ½-inch seam allowance for durability
- Create boxed corners by folding each bottom corner into a triangle, measuring 2 inches from the point, then stitching across to form a flat base
- Add a topstitching detail ¼-inch from all seams for a professional finish and reinforced structure
Press all seams flat with your iron as you work. This careful attention guarantees your tote will withstand heavy use while maintaining its polished appearance.
Attach Sturdy Handles
Your canvas tote’s durability depends on handles that won’t quit, so you’ll want to reinforce them properly before they’re sewn to your bag.
Start by positioning your handle strips on the bag’s interior, ensuring they’re centered and evenly spaced. Use a needle and heavy-duty thread to stitch them down securely with a box-stitch pattern for maximum strength.
Position handle strips centered and evenly spaced on the bag’s interior, then stitch down with heavy-duty thread using a box-stitch pattern for maximum strength.
For extra reinforcement, add metal rivets at the stress points where handles meet the tote body. These little powerhouses prevent tearing and extend your bag’s lifespan markedly.
Consider wrapping leather wraps around the handle tops to reduce wear from friction and provide a comfortable grip. This simple addition transforms your tote from flimsy to functional.
Your finished bag now features professional-quality handles that’ll support groceries, books, and everything else you throw at it.
Reinforce the Bottom
The bottom of your canvas tote bears the brunt of every heavy load, so reinforcing it’ll dramatically extend your bag’s life. You’ll want to focus on creating a double layering base that can withstand constant stress and friction.
Here’s what you’ll do:
- Cut an additional canvas rectangle matching your base dimensions, then fuse it to the interior bottom using fabric glue or stitching
- Reinforce all four corners with diagonal stitching patterns, creating an X-shape for maximum durability
- Add a layer of heavy-duty interfacing between the two canvas pieces for extra support
This double layering base transforms your tote from flimsy to formidable. Your reinforced corners’ll prevent tearing where stress concentrates most.
The result? A tote that’ll carry groceries, books, and beach gear for years without failing you.
Add Your Personal Stamp (Embroidery, Paint, or Patches)
Once you’ve built a tote that’ll last, it’s time to make it uniquely yours. You’ve got fantastic options to personalize your canvas creation.
Embroidered initials add a classic, sophisticated touch that’ll elevate your tote’s elegance. If you’re feeling artistic, painted botanical designs bring vibrant life to plain fabric. For those seeking texture and visual interest, patchwork applique lets you combine fabric scraps into eye-catching patterns.
Embroidered initials, painted botanicals, and patchwork appliqué transform plain canvas into uniquely personal, sophisticated totes.
Consider custom woven details along the handles or edges for a professional finish. You can hand-stitch patches featuring your favorite quotes or designs directly onto the exterior.
Mix and match techniques—pair embroidered initials with small painted accents, or layer patches with woven trim. These personalization methods transform your functional tote into a one-of-a-kind accessory that reflects your individual style and creativity.
Seal the Seams and Care for Your Tote
To protect all that hard work you’ve invested, sealing your seams is absolutely essential.
You’ll want to fortify your tote against moisture and everyday wear by applying waterproofing sprays designed specifically for canvas.
These products create a protective barrier that keeps your creation looking fresh.
Next, reinforce vulnerable areas using seam taping methods.
Self-adhesive fabric tape adheres directly to interior seams, adding durability without altering your tote’s appearance.
Here’s your care routine:
- Spot clean spills immediately with a damp cloth to prevent staining
- Air dry your tote completely after cleaning to avoid mildew
- Reapply waterproofing spray seasonally or after heavy use
Store your tote flat or hanging in a cool, dry space.
With proper maintenance, your personalized canvas tote’ll remain a functional, beautiful accessory for years to come.
Frequently Asked Questions
What Canvas Weight Is Best for a Durable Tote Bag?
You’ll want heavy canvas or duck cloth for your tote bag—they’re durable, long-lasting materials that won’t disappoint. These sturdy fabrics resist wear and tear, ensuring your bag handles daily use beautifully while maintaining its shape.
How Long Does It Typically Take to Complete This Project?
You’ll complete this project in 4-6 hours, depending on your skill level. Beginners might need extra time for cutting and stitching, while experienced sewers’ll finish faster. This time estimate makes it perfect for an engaging weekend project you’ll love!
Can I Use a Regular Sewing Machine or Need Industrial Equipment?
You’ll absolutely love that your regular home sewing machine works perfectly—you won’t need industrial equipment! Portable machines handle canvas beautifully. Use a sturdy needle, reinforce seams carefully, and you’re creating magic instantly.
What Thread Type Works Best With Canvas Fabric?
You’ll want polyester thread or heavy duty nylon for your canvas project. Both won’t break under tension, they’re durable, and they’ll give you professional-looking seams that’ll withstand repeated use and washing.
Is Pre-Washing Canvas Necessary Before Starting the Project?
You’ll want to pre-wash your canvas—here’s why! Debunk pre-wash myths: shrinkage prevention matters tremendously. You’re protecting your finished tote from unexpected warping. Wash in cool water, then dry completely before cutting and sewing your project.
Conclusion
You’ve successfully created a durable, personalized tote that’ll become your go-to everyday bag. Consider Sarah’s canvas tote—she added embroidered initials and reinforced the bottom with canvas strips, making it perfect for weekly farmers market trips. Your tote’s sturdy construction means you’re carrying a bag that’ll last years, not months. Seal those seams properly, and you’ll have a versatile accessory that’s both functional and uniquely yours. Start gathering materials today!